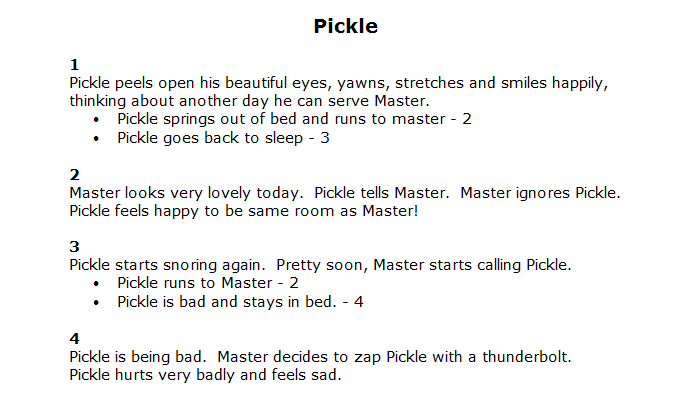
Okay, so you start with a screen like this, with a big 1 in the corner and it all looks so scary and confusing you begin banging your head against the computer, right? Pickle did.
Pickle bashed his head for hours and hours, but really there was no need. It is easy. There’s just two simple rules to learn:
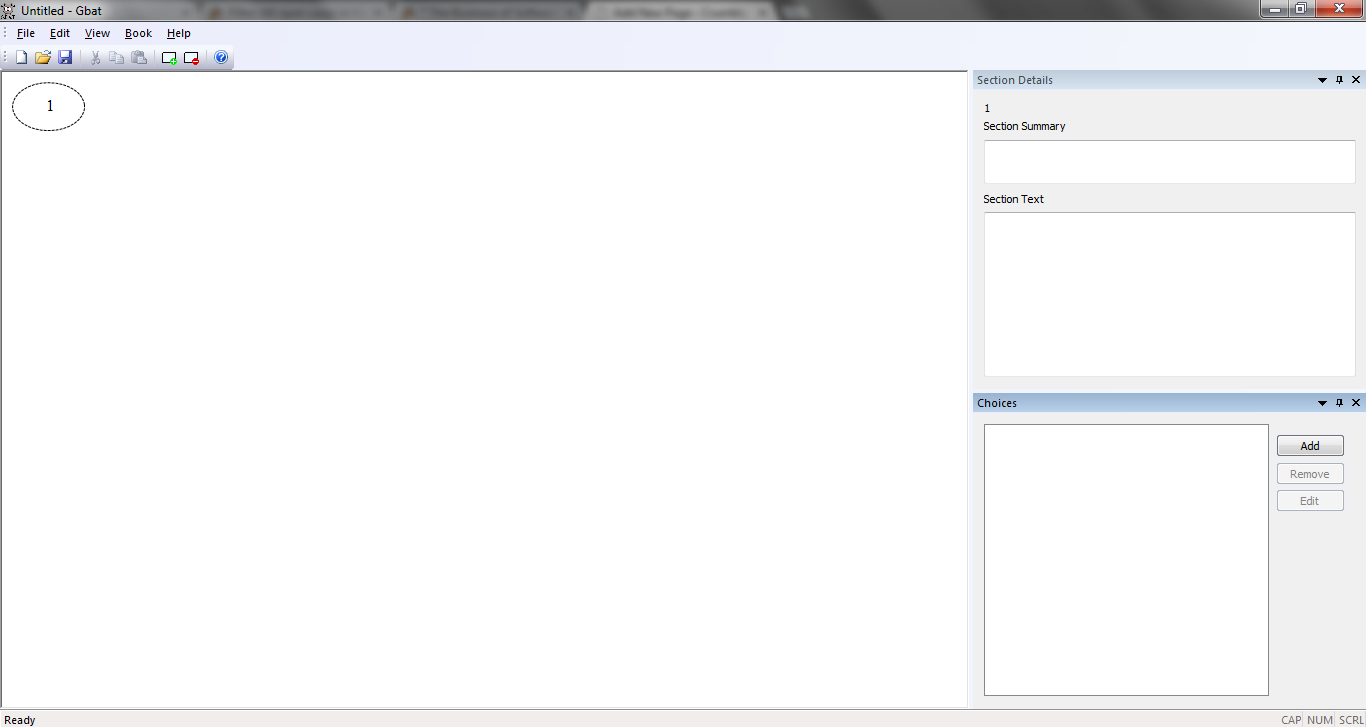
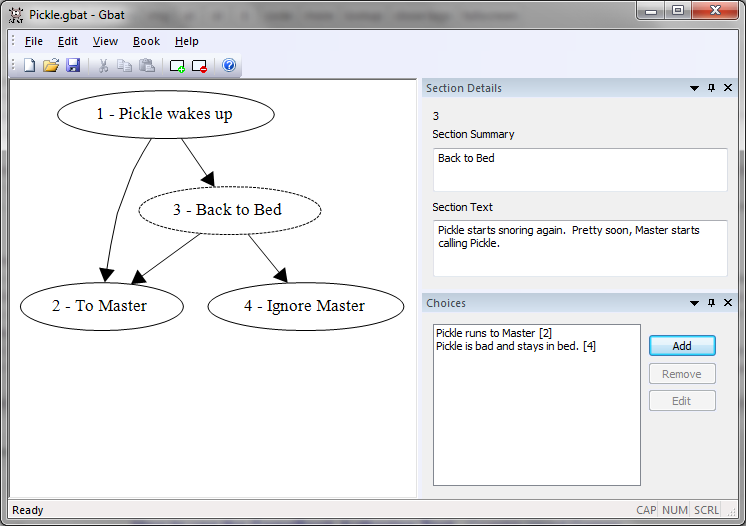
Section Summary
Section summary is for you. It’s what you see in your graph. Your reader will never ever see this. Go ahead, select the circle marked “1” and type something in. You’ll see that whatever you type in now appears in the graph. Magic!
Master recommends you keep your summary unique, so you know exactly at a glance where you are in the book.
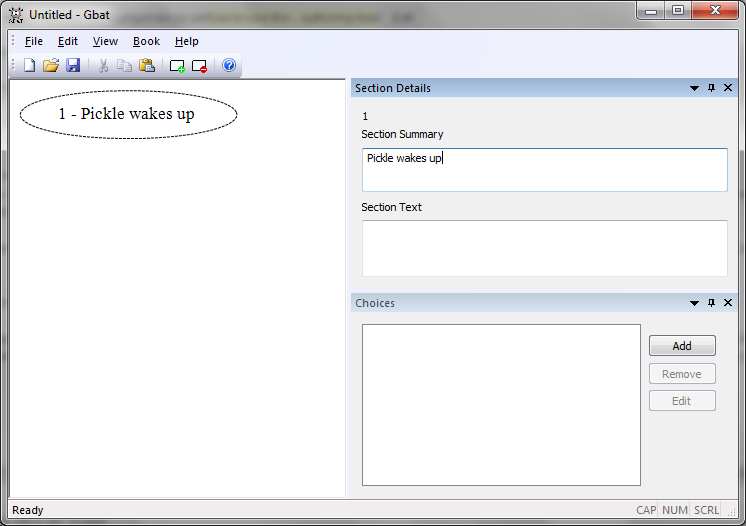
Section Text
Now this is the part your reader will see when you export your book, so this is the part your make beautiful and interesting! Type your text into here, and this will appear in your final book. The graph is unaffected by what you type in here.

So, let’s go through those super important rules again:
1) Section summary is to help you, the author. It’s the text that appears in the bubbles in your graph.
2) Section text is for your reader. Make this wonderful, because this is what they see when you build your book!
Choices
Pickle really loves choices. What should Pickle wear today? What should Pickle cook for Master today? How can Pickle stop Master being mad at Pickle today? And so on.
When you use the gamebook authoring tool it is really easy to add choices. If you click the “add” button in the choices area, this little box pops up:

In “Text” you tap in the text of the choice. This is the bit at the end of the paragraph where you say “Do you run away from the dragon? Or do you make sure Master is safe first?” Don’t worry about writing the “turn to page blah” bit, because the software does all that for you! And this is the next part: in the destination box you can either type in the page number you turn to, or if you have already created it, you can select it from the list. Pickle has made this sound all really complicated, but it really isn’t. So here’s an example:

Pickle has typed in “Pickle springs out of bed and runs to master” into the text area, and typed “2” into the destination area. When Pickle exports this book, the generated text will read something like:
“Pickle springs out of bed, turn to 2”
This would be a very boring choose your own adventure book though, so once you press okay make sure you add other choices!
Oh! But looks what happens when you create your first choice!
The graph
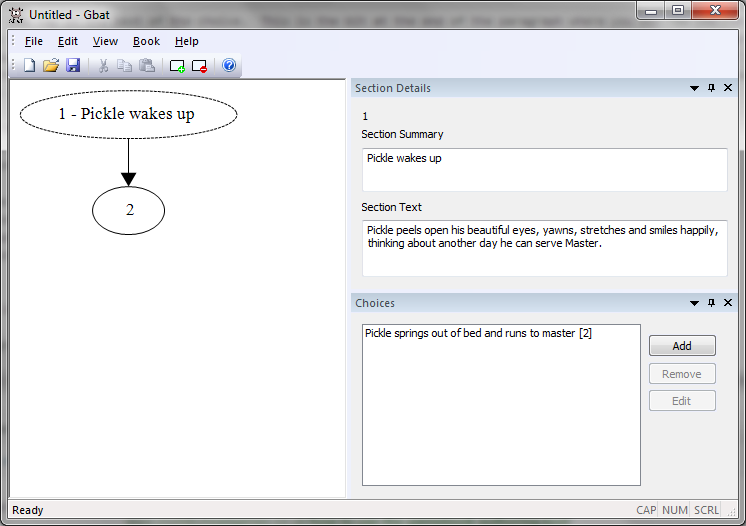
This is by far the sexiest thing that the GameBook Authoring Tool does. Every time you create a choice and link it to a new or existing section, the graph is updated. Here, you can instantly see how every choice in your book fits together. A full map of your book, the sections and all the choices between them is always available. Pickle loves it.
Making the Book
Okay, so what happens at the end? Pickle keeps going on about exporting this and that, but what does it mean? How can Pickle’s friends see Pickle’s book? Well, Pickle has no friends, but Pickle is sure that you do. So what you do, once you write all of your sections, all the section text and all of the choices, is press “Export” (this is under the file menu).
Then you choose a file format, for example rtf, and press save. The pixies in your pc run around and generate the text and the structure of your interactive book! A book pops out the other end! This file you can share with your friends!